Crafting Timeless Love: A Beginner's Guide to 3D Paper Cut Anniversary Shadow Boxes
Hello, crafters! If you have ever struggled to find a gift that feels as unique and enduring as the relationship it celebrates, you are not alone. In an era of mass-produced items and digital greetings, there is a profound satisfaction in creating something tangible with your own hands. One of the most captivating trends in modern paper crafting is the 3D paper cut shadow box. Specifically, designs featuring an Old Couple Anniversary theme offer a beautiful way to honor long-lasting love, combining nostalgia with intricate artistry. This guide will walk you through everything you need to know about these layered masterpieces, from understanding the file formats to assembling your own glowing tribute.
What is a 3D Paper Cut Shadow Box?
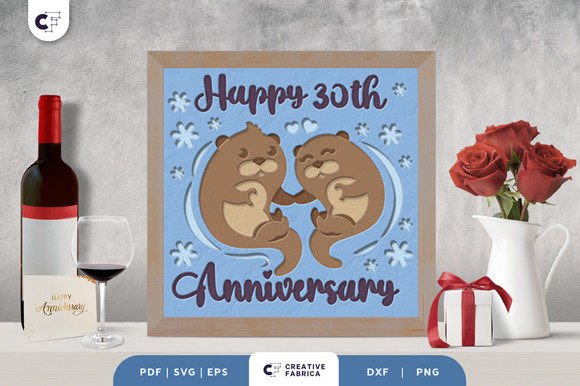
At its core, a 3D paper cut shadow box is a form of layered art. Unlike traditional flat剪纸 (paper cutting), this technique involves stacking multiple sheets of paper, each with a different part of the design cut out, to create depth and dimension. When viewed from the front, the separate layers merge into a single, cohesive image that appears to pop out of the frame.
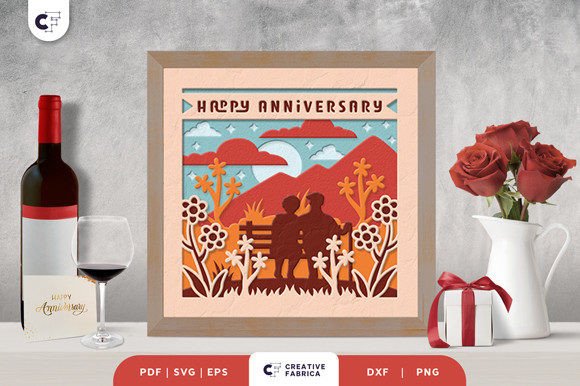
The specific template we are exploring today features a charming depiction of an elderly couple, perfect for milestone anniversaries. This design is structured as a square paper cutting template consisting of six distinct layers. Each layer plays a critical role: some form the background scenery, others create the mid-ground details like foliage or furniture, and the top layers highlight the main subjects—the couple themselves. The result is a scene that invites the viewer to look closer, discovering new details in the shadows and highlights created by the spacing between the papers.
The Significance of the "Old Couple" Theme
Why choose an image of an older couple for an anniversary gift? In the world of visual storytelling, an elderly pair represents the ultimate goal of romantic partnership: endurance, companionship, and shared history. For couples celebrating 25, 40, or 50 years together, this imagery resonates deeply. It moves beyond the fleeting excitement of new love and celebrates the quiet, steady strength of a life built together.
When you craft this specific design, you aren't just making decoration; you are creating a metaphor. The layers of paper represent the layers of memories, challenges, and joys the couple has accumulated over the decades. Just as the shadow box requires patience to assemble, so too does a lasting marriage. This context adds emotional weight to the project, transforming it from a simple hobby into a meaningful gesture of respect and affection.
Understanding the Digital Files and Formats
One of the most common questions beginners ask is, "What do I actually receive, and how do I use it?" When you purchase a high-quality template like this Old Couple Anniversary 3D Paper Cut, you are typically provided with a suite of digital files designed to accommodate various skill levels and equipment. Let's break down the formats you will likely encounter:
- SVG (Scalable Vector Graphics): This is the gold standard for electronic cutting machines. If you own a Silhouette or Cricut machine, this is the file you will import. SVGs are vector-based, meaning they can be resized infinitely without losing quality. However, a crucial rule to remember is that you must maintain the aspect ratio. Stretching the image horizontally or vertically will distort the layers, causing them not to align properly during assembly.
- PDF and EPS: These are excellent for professional printing or for those who prefer to print the templates onto cardstock and cut them manually. EPS is another vector format often used by graphic designers, while PDF is universally accessible.
- PNG: This is a raster image format. While not ideal for cutting machines, it is useful for previewing the design or using in digital mockups.
- DXF: Often used as an alternative to SVG for certain older cutting machines or specific software configurations.
The template in question measures 20.32 × 20.32 cm (approximately 8x8 inches). This square format is versatile, fitting perfectly into standard deep-frame shadow boxes found at most craft stores.
Tools of the Trade: Machines vs. Hand Cutting
You do not need expensive technology to create stunning 3D art. While the inclusion of an SVG file allows owners of Silhouette or Cricut machines to automate the cutting process with precision, the art form is equally accessible to traditionalists. If you do not have a cutting machine, you can absolutely use an art knife (often called an X-Acto knife) and a pair of sharp scissors.
Hand-cutting offers a meditative experience. It allows you to control the pressure and nuance of every curve. However, it does require a steady hand and patience, especially with six layers of intricate detail. Whether you choose the speed of a machine or the mindfulness of a blade, the end result is a testament to your effort.
Assembly: Bringing the Layers to Life
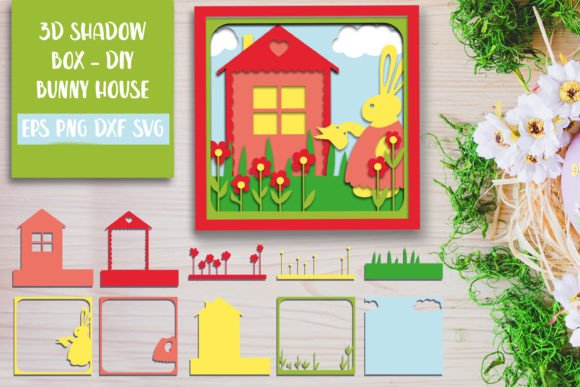
Once your six layers are cut, the real magic begins. Assembly is where the flat pieces transform into a 3D world. To achieve the necessary depth, you will need an adhesive that creates space between the sheets. Glue dots or double-sided foam tape are the industry favorites for this task. Liquid glue is generally discouraged as it can warp the paper and flatten the layers, destroying the 3D effect.
- Preparation: Lay out all six layers in order, usually numbered or organized from back to front. Ensure your workspace is clean and free of dust.
- Spacing: Apply small strips of foam tape or clusters of glue dots to the back of each layer. Focus on the edges and sturdy areas of the design to prevent sagging.
- Alignment: Carefully stack the layers, starting with the rearmost background piece. Use registration marks (small crosses or circles often included in the corner of the design) to ensure perfect alignment.
- Framing: Once stacked, place the entire assembly into a deep shadow box frame. Secure it firmly.
Adding Light: The Shadow Box Effect
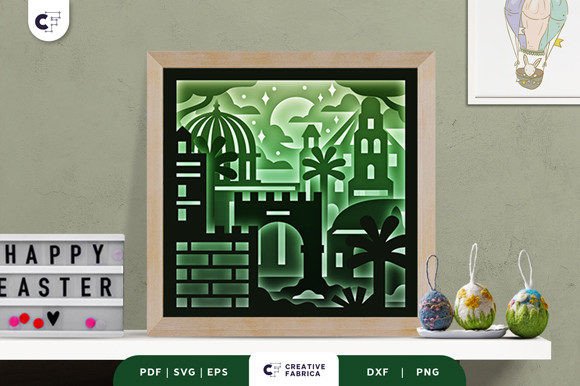
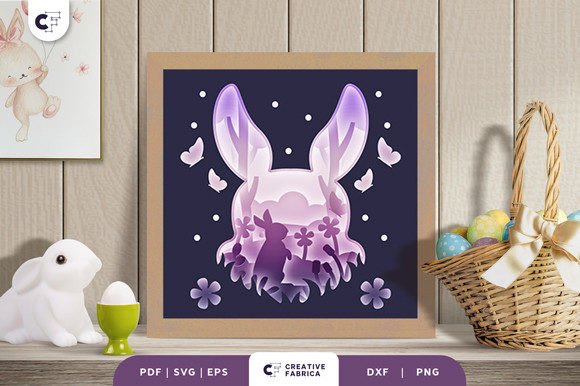
To truly elevate this project, consider turning it into a light box. By adding LED strips or a small puck light inside the frame behind the paper layers, you create dramatic shadows and highlights. The light filters through the cut-out areas, making the scene glow and emphasizing the texture of the paper. This is particularly effective for evening displays or as a nightlight in a bedroom. The interplay of light and shadow brings the "old couple" scene to life, symbolizing the warmth that persists through the years.
Selecting the Right Materials
The quality of your final product depends heavily on the paper you choose. Flimsy printer paper will buckle under the weight of the layers and fail to hold crisp edges. For professional results, it is recommended to use heavy cardstock. The specifications for this particular design suggest using Encore Cardstock 80 lb cover (216 gsm).
Why this weight? At 80 lbs, the paper is thick enough to stand rigidly without support, ensuring the layers remain parallel. It also cuts cleanly, whether by machine or hand, minimizing frayed edges. The 216 gsm metric indicates a substantial density that blocks light effectively (unless you want a translucent effect) and provides a luxurious feel. You can explore various colors to match the recipient's decor; warm creams and soft pastels often complement the nostalgic theme of an anniversary, while bold colors can make a modern statement.
Note: Please be aware that product images online are for preview purposes only. The actual final product color may vary slightly depending on your monitor settings, lighting sources, and the specific batch of paper used.
A Gift of Lasting Value
In our fast-paced digital lives, taking the time to craft a physical object sends a powerful message. An Old Couple Anniversary 3D Paper Cut is more than just wall decoration; it is a conversation piece and a heirloom. It serves as a daily reminder of love's longevity for the recipients and a proud display of creativity for the giver.
Whether you are a seasoned crafter looking to expand your portfolio with layered designs or a beginner eager to try something special for a family member, this project bridges the gap between technical skill and emotional expression. It fits seamlessly into modern home decor trends that favor textured, handmade art over generic prints. Furthermore, the scalability of the SVG files means you can adapt the size to fit different frames, making it a flexible solution for various gifting needs.
By understanding the layers, respecting the materials, and embracing the process, you create not just a picture, but a story told in paper and light. So, gather your tools, select your cardstock, and start crafting a tribute to love that will last as long as the memories it represents.