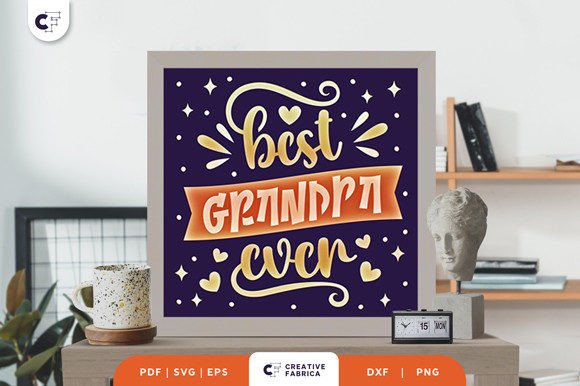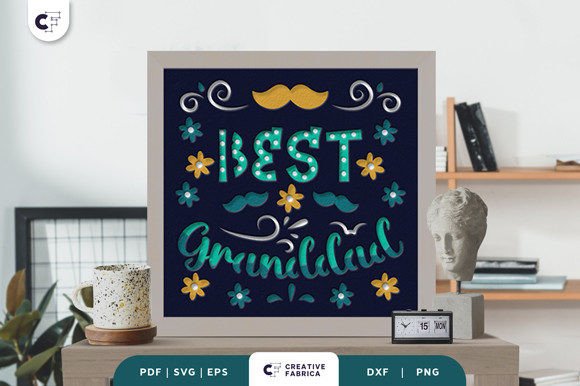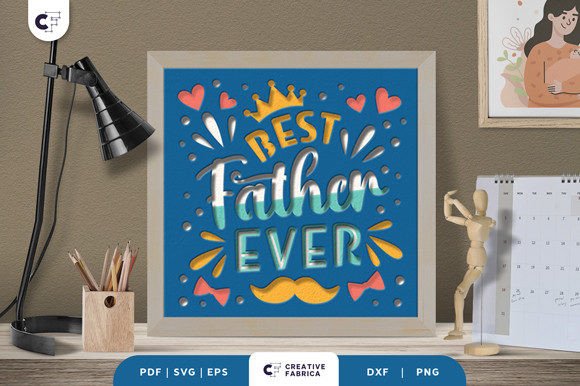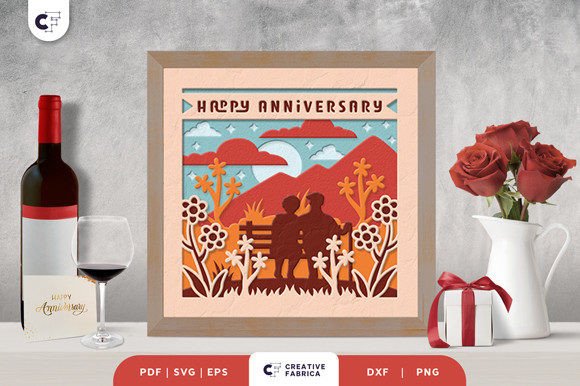
Crafting a Timeless Tribute: The Grandpa Dad and Son 3D Shadow Box
Hello, crafters. There is something profoundly moving about creating a gift that captures the essence of family lineage. In the world of paper crafting, few projects resonate as deeply as the Grandpa Dad and Son 3D Shadow Box. This isn't just a decoration; it is a layered narrative told through cardstock, depth, and light. Whether you are preparing for Father's Day, a birthday, or simply want to celebrate the men in your life, this layered, square paper cutting template offers a perfect blend of artistic expression and emotional significance.
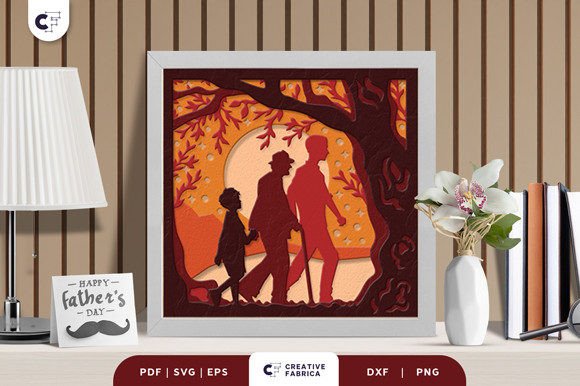
The concept behind a 3D shadow box is simple yet sophisticated. By stacking multiple layers of cut paper, you create an illusion of depth that flat prints simply cannot achieve. When you look at the Grandpa Dad and Son 3D Shadow Box, your eye travels through the foreground to the background, discovering details in the silhouettes of three generations standing together. It transforms a standard image into a tangible scene, inviting the viewer to step into the moment.
Understanding the Template Specifications
Before diving into the assembly, it is essential to understand what you are working with. This specific design comes as a comprehensive digital package, ensuring compatibility with almost any crafting setup you might have. You will receive the beautiful Father's Day 3D Shadow Box template in a variety of industry-standard formats: SVG, PDF, EPS, PNG, and DXF.
The versatility of these file types means you are never locked out of the project. If you own a Silhouette Cameo or a Cricut Explore, the included SVG file is your best friend. It allows your machine to read the vector paths precisely, ensuring clean cuts every time. However, technology shouldn't be a barrier to creativity. If you do not have a cutting machine, you can absolutely use your art knife and scissors. The PDF and PNG files serve as excellent printed guides for manual cutting, allowing traditional crafters to achieve the same stunning results with a steady hand and a sharp blade.
The design consists of 6 distinct layers. This number is crucial; too few layers and the effect feels flat, while too many can make the box overly deep and difficult to frame. Six layers provide the ideal balance, offering enough separation to cast soft shadows and create a parallax effect without becoming unwieldy. The standard size for this template is 20.32 × 20.32 cm (approximately 8x8 inches), which fits perfectly into standard square frames found at most craft stores. One of the greatest advantages of using SVG files is scalability. You can resize the design to fit larger or smaller frames, but remember: you must keep the same aspect ratio. Distorting the image will misalign the layers, ruining the cohesive look of the final piece.
Selecting the Right Materials for Depth and Durability
The magic of a shadow box lies not just in the cut, but in the material used. To achieve crisp edges and sufficient rigidity so the layers don't sag over time, the weight of your paper matters immensely. For this project, we highly recommend using Encore Cardstock 80 lb cover (216 gsm). This specific weight is the gold standard for 3D paper art. It is thick enough to hold its shape when suspended in a frame but thin enough to be cut cleanly by most machines without tearing.
Lighter paper, such as standard printer paper or 65 lb cardstock, often lacks the structural integrity needed for a multi-layer project. It may bow under its own weight or fail to create distinct separation between the tiers. On the other hand, anything heavier than 80 lb might be difficult to cut intricately, especially if your design includes fine details in the clothing or facial features of the grandpa, dad, and son figures. You can explore high-quality options by visiting the 12×12 Cardstock Shop (this is a paid link at no extra cost to you) to find the perfect color palette for your project.
Color selection plays a pivotal role in the final aesthetic. While black silhouettes against a white background offer a classic, high-contrast look, consider experimenting with tonal variations. Using different shades of blue, grey, or sepia for each layer can enhance the perception of distance. Typically, the front layer is the darkest, gradually becoming lighter as you move toward the back, mimicking atmospheric perspective. Alternatively, a monochromatic scheme using various textures of white or cream cardstock can create a subtle, elegant piece that fits into any home decor style.
Assembly Techniques for a Professional Finish
Once your six layers are cut, the real craftsmanship begins. Assembly requires patience and precision. You will need glue or double-sided tape to adhere the layers together. Foam adhesive squares are particularly effective for this type of project because they come in pre-cut thicknesses, ensuring uniform spacing between each layer. If you prefer liquid glue, apply it sparingly to avoid warping the cardstock.
Start by identifying the order of your layers. Most templates are numbered or named sequentially. Place the background layer down first. Apply your adhesive spacers to the corners and mid-points of this layer, then carefully align the next layer on top. Press down gently but firmly. Repeat this process until all six layers are stacked. It is vital to check alignment from multiple angles as you go; once the glue sets, correcting a shifted layer can be difficult without damaging the paper.
After stacking, you have two primary options for display. The traditional method is to place the assembled stack into a deep-set picture frame, creating a static framed wall decoration. This looks stunning on a mantle or office wall. However, for a truly mesmerizing effect, consider transforming your project into a light box. By adding LED strips between the layers or installing a backlight panel behind the final layer, you illuminate the cutouts from within. The light filters through the gaps in the paper, casting dynamic shadows and highlighting the intricate details of the grandpa, dad, and son figures. This special effect brings the scene to life, making it a captivating centerpiece for evening gatherings.
A Meaningful Gift for Every Occasion
The Grandpa Dad and Son 3D Shadow Box transcends being merely a craft project; it is a vessel for memory and connection. In an era where digital photos often remain trapped on screens, physical art holds a unique power. Giving this to a friend, your family, or someone special communicates a level of thoughtfulness that store-bought gifts rarely match. It acknowledges the passage of time and the enduring bond between generations.
Imagine gifting this to a new father, showcasing the legacy he is now part of. Or perhaps presenting it to a grandfather on his birthday, honoring his role as the patriarch of the family. The universal theme of fatherhood makes this design incredibly versatile. Because the figures are silhouettes, they possess a certain anonymity that allows the recipient to project their own family memories onto the image, making it feel personally tailored even if the template is standard.
When framing your finished piece, keep in mind that lighting conditions affect perception. Note: The images seen in previews are for illustration purposes only. The actual final product color may slightly vary due to lighting sources and the specific paper color you choose. Natural daylight will reveal the truest colors, while warm indoor lighting may add a cozy, golden hue to the whites and creams. This variability is part of the charm of handmade items; no two shadow boxes will ever look exactly alike, even when made from the same file.
Integrating Paper Crafting into Modern Lifestyles
Paper crafting has evolved significantly, moving from a niche hobby to a mainstream creative outlet embraced by designers and DIY enthusiasts alike. Projects like the Grandpa Dad and Son 3D Shadow Box fit seamlessly into modern workflows where personalization is key. With the rise of small businesses and Etsy shops, many crafters are using templates like this to build inventory for holiday seasons. The ability to produce high-quality, emotionally resonant art quickly using digital files and cutting machines allows creators to scale their efforts without sacrificing the handmade touch.
Furthermore, this type of project encourages mindfulness. The process of weeding excess paper, aligning layers, and adhering components requires focus and presence. In a fast-paced world, taking the time to manually assemble a 6-layer shadow box can be a therapeutic exercise. It forces you to slow down and engage with the materials, resulting in a sense of accomplishment that is both immediate and lasting.
Whether you are a seasoned pro with a studio full of equipment or a beginner with just a pair of scissors and some glue, this template provides everything you need to succeed. The inclusion of multiple file formats ensures accessibility, while the clear layer count and dimensions provide a straightforward roadmap for construction. By choosing high-quality cardstock and taking care during assembly, you elevate a simple digital download into a heirloom-quality piece of art.
Ultimately, the value of the Grandpa Dad and Son 3D Shadow Box lies in its ability to tell a story without words. It stands as a testament to the bonds that tie us together across generations. So, gather your tools, select your favorite cardstock colors, and start cutting. The result will be more than just a decoration; it will be a celebration of family, crafted by your own hands.